REVIEW · VENICE
Venice Photography Walking Tour with Private Guide
Book on Viator →Operated by Experience Paris · Bookable on Viator
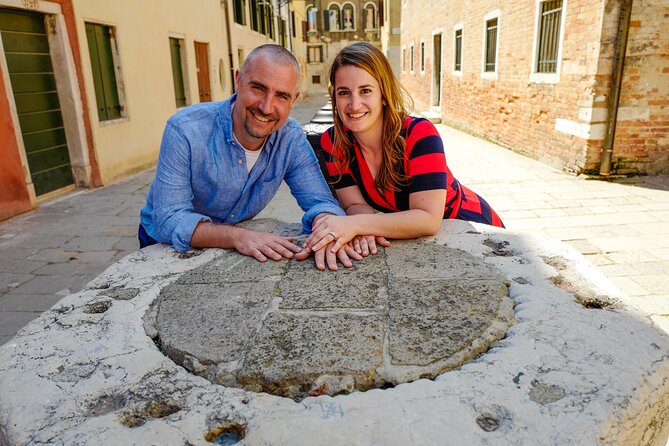
Venice is a camera magnet, not just a postcard. This 3-hour private photography walking tour uses a professional photographer guide to help you see the city’s details fast—then photograph them with confidence, whether you’re on a phone or a full camera setup. Daytime focuses on St Mark’s Square, Rialto, and the Mercerie district; sunset leans into the Bridge of Sighs and the glow across the lagoon.
I especially like that you get undivided attention on a private tour, with real instruction geared to your level. I also like the mix of famous sights and quieter neighborhoods, plus practical tips on composition, light, and telling a story through street scenes and architecture.
The main drawback to plan for is simple: you’ll walk a lot for 3 hours. If you want mostly sit-down sightseeing, this won’t be your best fit—also, you’ll need basic familiarity with your camera or phone controls.
In This Review
- Key points at a glance
- Private guide starts at Gallerie dell’Accademia: what that means in practice
- Day vs. sunset photography: picking the Venice light you want
- How the photo teaching actually works: composition, light, and story
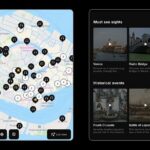
- Day tour route: Rialto Market, Mercerie, and St Mark’s framed your way
- Rialto Market: motion, color, and real details
- Mercerie: storefront lines and street-level storytelling
- St Mark’s Square: how to avoid the one-angle trap
- Sunset tour route: Bridge of Sighs, Lagoon reflections, and lit St Mark’s
- Bridge of Sighs: strong lines, quick timing
- Venice Lagoon: the wide-scene challenge
- St Mark’s Square at nightfall: lights that behave
- Custom route planning: how to get the Venice you actually want
- What to bring and how to prepare (especially if you’re a beginner)
- Walking, crowds, and getting the shot without the barricade
- Price and value: $271.54 for 3 hours of pro instruction
- Who should book this Venice photo walk?
- Should you book this Venice Photography Walking Tour?
- FAQ
- How long is the Venice photography walking tour?
- Is this tour private?
- Where do we meet, and where does the tour end?
- What kinds of cameras can I use?
- What’s the difference between the daytime and sunset tours?
- Is there any extra access fee?
- What if I need to cancel?
Key points at a glance
- Private, 1-on-1-style guidance from a professional photographer guide
- Choose daytime (Rialto, Mercerie, St Mark’s Square) or sunset (twilight glow, Lagoon views, Bridge of Sighs)
- Built for many devices, from smartphones to SLRs
- Learning focuses on composition, lighting, and reportage-style street photos
- Custom routing within the time limit, with route tweaks based on local conditions
- Meet at Gallerie dell’Accademia (Calle della Carità, 1050) and return to the same spot
Private guide starts at Gallerie dell’Accademia: what that means in practice
Meet at Gallerie dell’Accademia, Calle della Carità, 1050, 30123 Venezia VE. The tour ends back at the same meeting point. That matters more than it sounds. Venice is all about short distances on foot that can still feel long in heat, humidity, or crowds. Starting and ending in one place makes the walk plan feel tidy.
Also, this is truly private. Only your group goes on the route. That gives you room to ask questions while you’re standing in the exact spot where the light or framing problem happens—not later, not in a classroom.
You can choose a daytime tour or a sunset tour. Both options aim at the same goal: leaving with photos you can be proud to print and frame, not just a camera roll of similar angles. The guide works with whatever you’re shooting—smartphone, advanced digital, or SLR—and keeps the pace workable while still getting you to enough good scenes.
One more practical note: the tour runs rain or shine, and the route can change based on local conditions. In Venice, that usually means weather, crowd flow, or temporary access issues, so don’t plan your day like every single photo spot is guaranteed.
You can also read our reviews of more walking tours in Venice

Day vs. sunset photography: picking the Venice light you want
Choosing daytime or sunset changes the “photo problem” you’re solving.
On the daytime tour, you’re in brighter, higher-contrast light. That’s a good chance to nail basics like:
- framing architecture without blowing out highlights
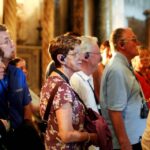
- photographing people respectfully while they move through busy areas
- using shadows and bright facades to make a scene feel three-dimensional
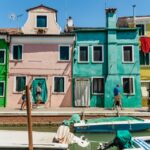
The daytime plan includes St Mark’s Square, plus Rialto Market and the Mercerie shopping district. This is ideal if you want color, texture, and the energy of daily Venice. It’s also great if you’re still learning camera controls and need daylight to practice.
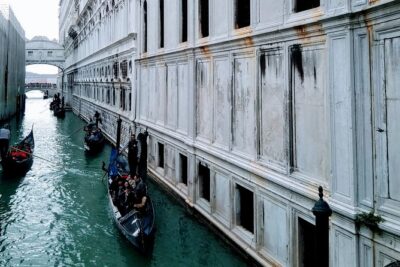
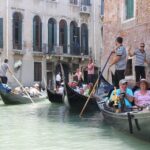
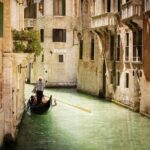
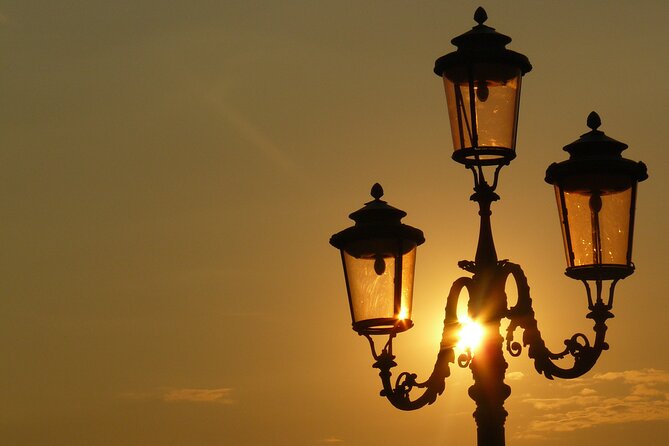
On the sunset tour, you’re chasing a different kind of challenge: light that changes fast. You’ll work during that short window when reflections start looking dramatic and the city shifts from sunlit surfaces to warm tones. The tour includes many locations from the daytime route plus additional spots built for the evening glow, including the Bridge of Sighs, the Venice Lagoon, and illuminated scenes around St Mark’s Square.
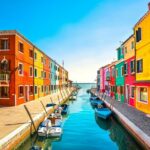
If you want photos that feel cinematic—city lights reflected in canals—sunset is usually the better choice. Just be ready for less predictable walking conditions as dusk falls.
How the photo teaching actually works: composition, light, and story
This tour isn’t just about pointing you at views. The instruction is built around real shooting skills you can use right away.
Here’s what you should expect to learn:
- composition: where to place your subject, how to use lines and edges, and how to avoid flat-looking frames
- lighting: understanding what to do when the light is harsh, low, or reflected off water
- reportage-style photography: capturing real moments—street scenes, faces, daily rhythms—without turning people into props
You’ll also get help that fits your experience level. Some guides on this kind of tour are fine with beginners; others speed up fast. The standout here is the “slow enough to learn, fast enough to get shots” approach. In particular, guides like Vinicio and Mario are repeatedly praised for being patient and practical—helping with camera functions for beginners, and working through manual settings if you want more control.
If you’re using a smartphone, you’re not stuck with basic advice. You should be able to get smartphone-specific guidance on settings and framing. One common takeaway is learning to use your brain, not just the device—meaning you’ll be thinking about light angles, subject placement, and timing.
Day tour route: Rialto Market, Mercerie, and St Mark’s framed your way

The daytime walk is about Venice in full daylight—texture, color, and human energy.
Rialto Market: motion, color, and real details
You’ll visit Rialto Market for photo opportunities. Markets are perfect for learning because everything changes: people pass through, goods shift, and you get strong color contrasts. It’s a good place to practice:
- quick composition decisions
- photographing faces and movement respectfully
- using the environment as context (not just close-up “stuff” shots)
You can also read our reviews of more guided tours in Venice


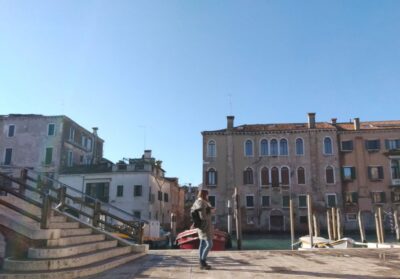
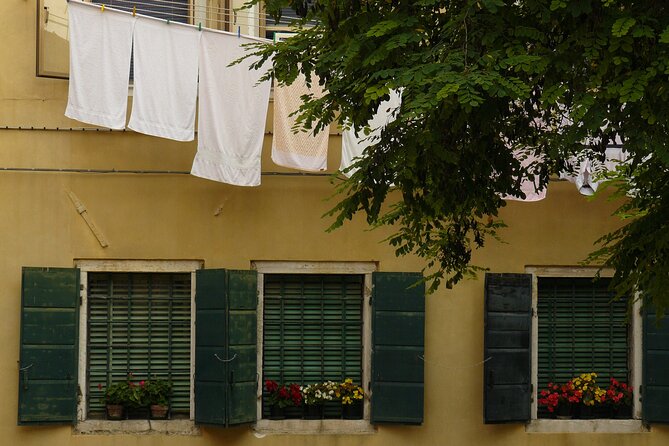
Mercerie: storefront lines and street-level storytelling
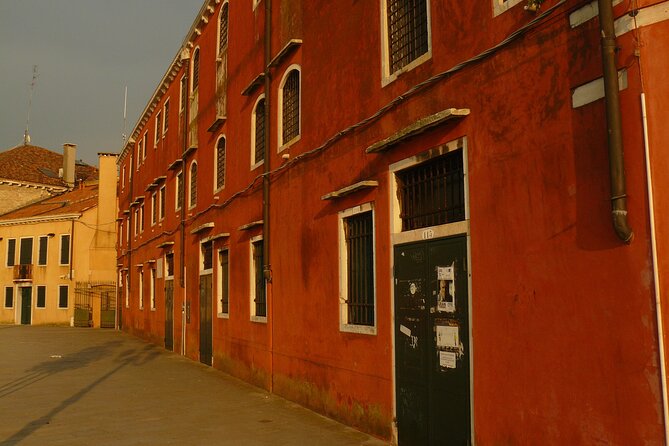
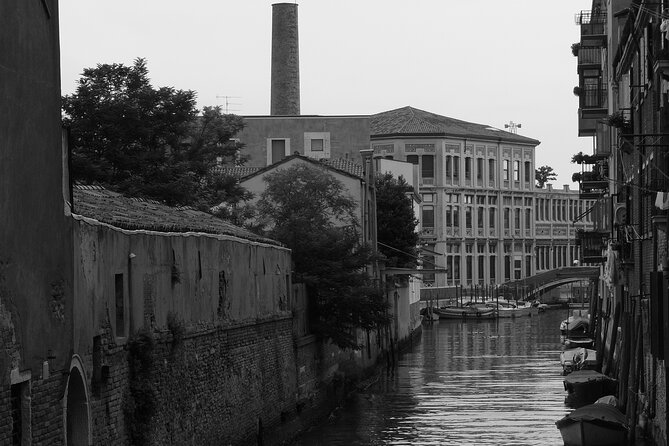
Next is the Mercerie district, known for lively shopping streets. This is where you practice street-level framing—using storefront lines, archways, and narrow lanes to guide the eye. If you’ve ever shot Venice and felt like your photos looked too much like generic landmarks, Mercerie is often where you start getting the “I was there” feeling.
Daylight also helps with a simple goal: making your photos look sharp and intentional. If your current shots are often slightly flat or overexposed, daylight gives you a safe setting to adjust.
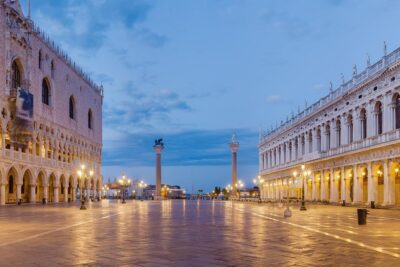
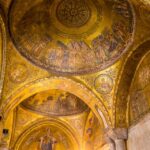
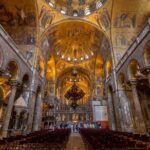
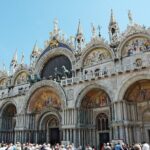
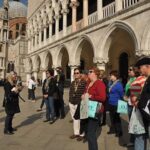
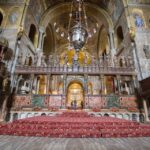
St Mark’s Square: how to avoid the one-angle trap
You’ll visit St Mark’s Square on the daytime tour. This is the place where most people get the same photo: center view, postcard symmetry, done. The guide’s job is to help you find other ways in:
- framing monuments with nearby architecture
- choosing viewpoints that include leading lines
- working with brightness and shadow to keep detail
Even if you’ve been to St Mark’s before, it’s often the “how you shot it” part that feels new after a good guide stands next to you and corrects your framing choices in real time.
Sunset tour route: Bridge of Sighs, Lagoon reflections, and lit St Mark’s
The sunset experience is designed around the moments when Venice turns glossy. Water reflections, warm stone, and darker skies all change your photography priorities.
Bridge of Sighs: strong lines, quick timing
The Bridge of Sighs is a natural focal point for silhouettes and layered reflections. But it’s also a spot where crowds can make framing tricky. The advantage of a private guide is simple: you can get help choosing the right angles and timing, instead of waiting in the wrong spot and missing the light.
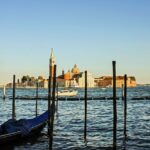
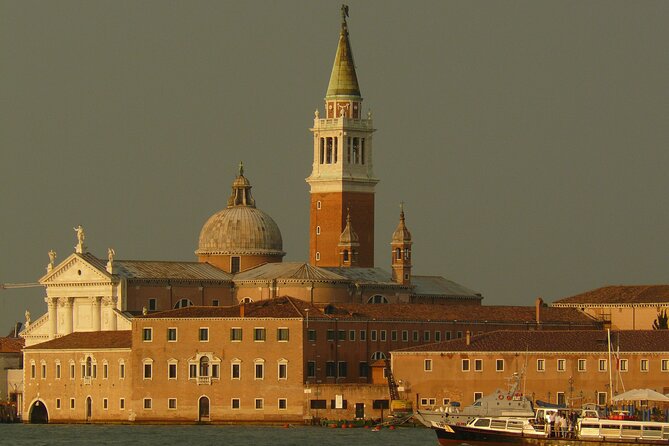
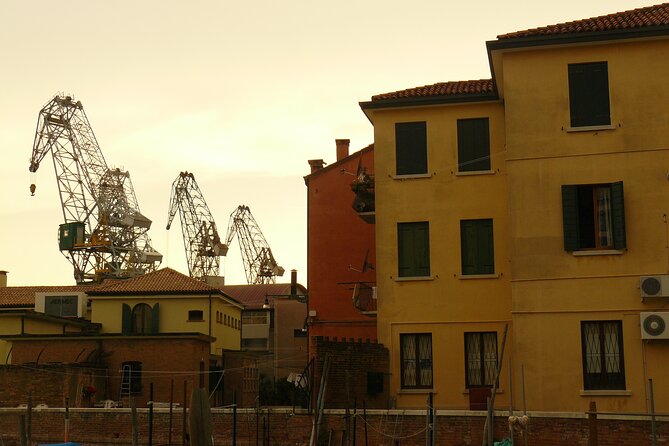
Venice Lagoon: the wide-scene challenge
Seeing the Venice Lagoon adds scale. It’s where you practice getting both the subject and the context in one frame. Sunset is ideal because the sky becomes a gradient background, and the water starts acting like a mirror—if you position yourself well.
St Mark’s Square at nightfall: lights that behave
When night lights kick in, St Mark’s becomes a different subject. The goal becomes control:
- capturing illuminated architecture without blown highlights
- keeping reflections believable
- making the scene feel atmospheric, not just bright
If you’ve ever photographed at night and gotten a “too noisy, too blurry, too bright” mess, this is where the instruction pays off. You’ll be shown how to approach the light conditions so the result looks intentional.
Custom route planning: how to get the Venice you actually want
At booking, you can share special interests or requests so the guide can tailor your route. The tour is also described as custom planned within your 3-hour duration, meaning you’re not locked into a single script.
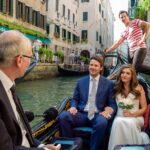
Here’s a key practical tip: if you have a specific place you want, say it clearly at booking time. One helpful example from this kind of tour experience is wishing the guide had known ahead of time about a specific stop such as Squero di San Trovaso (a historic boatyard). In short: don’t assume flexibility will cover your must-see unless you’ve communicated it early.
Also note that the route may change due to local conditions. That’s normal in Venice, and a good guide will adapt without turning your session into a scramble.
What to bring and how to prepare (especially if you’re a beginner)
You don’t need expensive gear. You do need a basic working knowledge of your camera (or phone). That requirement is important because the tour is instruction-heavy, not a full camera intro from zero.
A smart prep checklist:
- charge your phone/camera battery
- bring a way to keep your gear stable (for some shots, grip matters)
- if you use a camera with manual controls, be ready to switch settings when the guide asks
- wear shoes for lots of walking on uneven stone
Also, bring a realistic mindset about Venice. Expect narrow lanes, crowds at peak times, and the occasional moment where you can’t get the exact angle you pictured. The guide’s value is helping you still make good photos under real conditions.
If you’re unsure about your skills, this tour can still work. Many photographers start improving once they learn the “why” behind their settings—how to respond to light and subject placement instead of copying someone else’s settings.
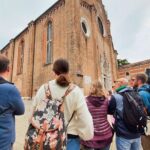
Walking, crowds, and getting the shot without the barricade
Venice can feel like a parade of cameras. This tour approach is designed to keep you moving toward better photo angles and less congested areas—especially by using the guide’s local knowledge.
You’ll still walk a lot. The upside is that walking connects you to the city’s rhythms. You see how locals move through side streets and canals, not just where tourists gather for the standard views.
If you’re traveling in high season or during cruise-heavy days, the ability to get away from the densest parts of the center can make a huge difference. You’ll spend more time composing and less time waiting for gaps.
Price and value: $271.54 for 3 hours of pro instruction
At $271.54 per person for about 3 hours, you’re paying for more than sightseeing. You’re paying for a professional photographer guide and the time to practice photography in real settings while someone corrects your choices.
This cost makes sense if:
- you want active teaching (not just a walk with commentary)
- you care about photos you can actually print
- you want a private, question-friendly pace
- you’re bringing a partner or kids who will benefit from hands-on guidance
It might not feel like great value if you’re mainly interested in landmark checking and don’t care much about improving your photography. In that case, a cheaper general walking tour could do the job.
One more value point: the guide can work with multiple camera types. That means mixed gear doesn’t become a problem. It’s also helpful if someone in your group is learning basics while another person wants more technical instruction.
Who should book this Venice photo walk?
This tour fits best if you:
- want better photos, not just photos
- enjoy learning while walking through real neighborhoods
- are a beginner who wants friendly, step-by-step direction (especially with settings and framing)
- are an intermediate shooter who wants critiques on composition and lighting
- use a smartphone and want more than basic “tap here” advice
It also works well for families, including teens—if everyone’s willing to walk and take part in the practice. The tone is instructional and practical, which is why it tends to land well with different ages.
If you hate walking, or you want mostly indoor museum stops, you’ll likely find the format too active.
Should you book this Venice Photography Walking Tour?
Book it if you want to leave Venice with photos that feel chosen, not accidental. The biggest strengths are private attention, instruction that matches your level, and the way the route combines landmark beauty with quieter Venice streets and daily-life scenes.
Skip it if you’re not interested in photography improvement, or if you’re traveling with limited walking tolerance. Also, if there’s one exact place you want (like a specific boatyard or canal spot), message your guide clearly when you book so the route can be planned around it.
FAQ
How long is the Venice photography walking tour?
The tour is about 3 hours.
Is this tour private?
Yes. It’s a private tour/activity and only your group participates.
Where do we meet, and where does the tour end?
The meeting point is Gallerie dell’Accademia, Calle della Carità, 1050, 30123 Venezia VE, Italy. The tour ends back at the meeting point.
What kinds of cameras can I use?
All experience levels and types of photographic equipment are welcome, including smartphones, advanced digital cameras, and SLR cameras. You should have basic knowledge of your camera.
What’s the difference between the daytime and sunset tours?
The daytime tour focuses on St Mark’s Square, Rialto Market, and the Mercerie district. The sunset tour meets before dusk and adds photo opportunities for twilight and night lighting, including the Bridge of Sighs and views tied to the Venice Lagoon.
Is there any extra access fee?
On certain dates, day visitors who are staying outside Venice may be required to pay a €5 access fee. You can check applicable days and exemptions at https://cda.ve.it.
What if I need to cancel?
You can cancel up to 3 days in advance for a full refund. If you cancel less than 3 days before the start time, the amount paid is not refunded.